
Are you interested in learning how to crochet a beautiful gladiolus flower? Look no further! This step-by-step tutorial will teach you everything you need to know. We will start by discussing the importance of choosing the right yarn and hook size. These factors play a crucial role in ensuring that your gladiolus flower turns out stunning.
Once you have selected the perfect yarn and hook size, we will move on to the exciting part – creating the petals. This is where the magic happens! You will learn various stitches and techniques to achieve the desired shape and texture for each petal. Whether you want your gladiolus flower to be delicate and dainty or bold and vibrant, we have got you covered.
After mastering the art of crocheting the petals, it’s time to assemble the flower. We will guide you through the process of shaping the petals and bringing them together to create a realistic-looking gladiolus. It’s like putting together a puzzle, but with yarn and a hook!
Lastly, we will add the finishing touches to your crocheted gladiolus flower. We will show you how to secure the petals, hide any loose ends, and make any final adjustments to ensure that your flower looks perfect. And if you want to take your flower to the next level, we will even teach you how to crochet a stem and add additional details like leaves or accents.
So, are you ready to embark on this crochet adventure? Let’s dive in and learn how to crochet a stunning gladiolus flower from start to finish!
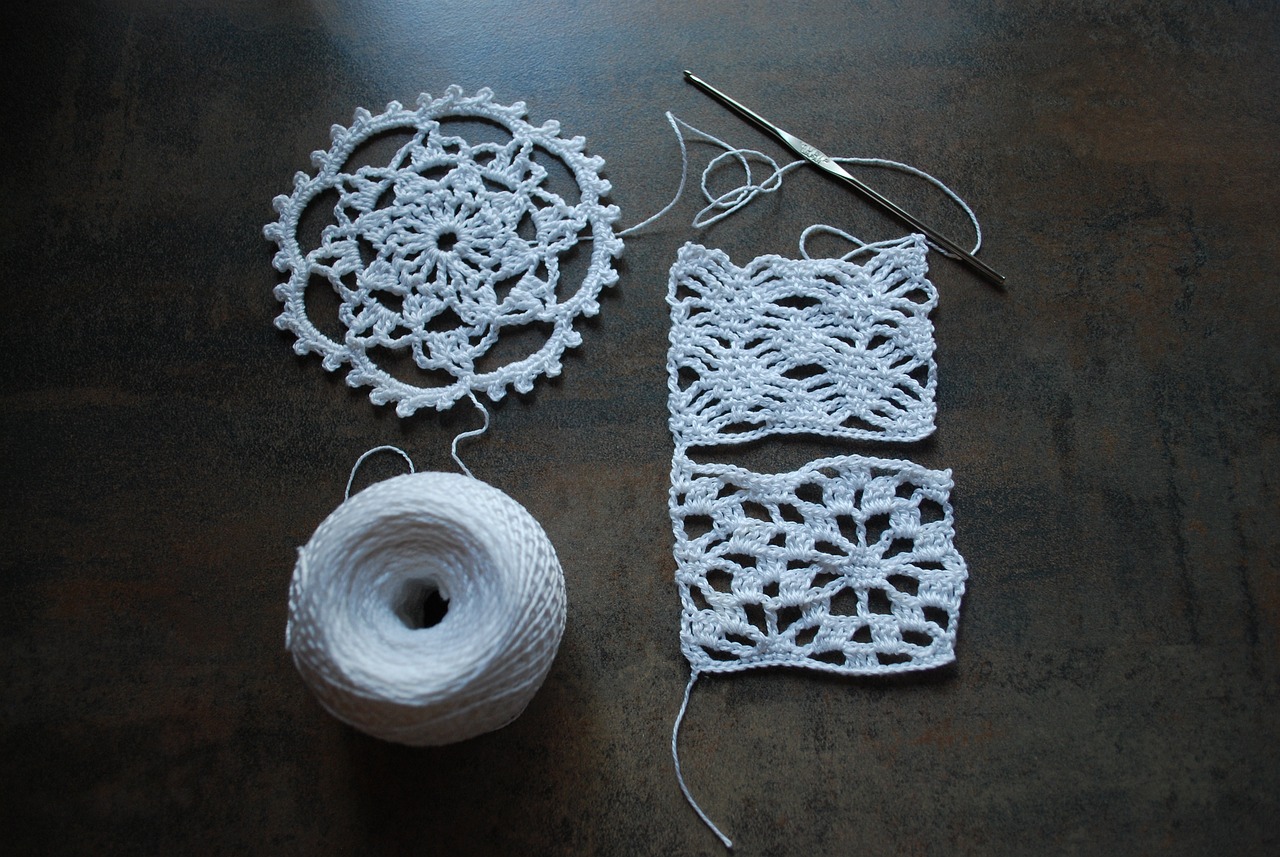
Choosing the Right Yarn and Hook Size
When it comes to crocheting a gladiolus flower, choosing the right yarn and hook size is crucial. The type of yarn you use will determine the overall look and feel of your flower, while the hook size will affect the size and shape of the petals.
For a gladiolus flower, it is recommended to use a lightweight yarn that has a smooth texture. This will give your flower a delicate and realistic appearance. Acrylic or cotton yarns are popular choices for crocheting flowers due to their versatility and wide range of colors available.
When selecting the hook size, consider the thickness of your yarn. A smaller hook size will create tighter stitches and smaller petals, while a larger hook size will result in looser stitches and larger petals. It’s important to find the right balance to achieve the desired look for your gladiolus flower.
By understanding the best type of yarn and selecting the appropriate hook size, you can ensure that your crocheted gladiolus flower turns out beautifully. These factors play a significant role in the overall appearance and quality of your finished flower.
Creating the Petals
When it comes to crocheting the individual petals of a gladiolus flower, following the right instructions is key. This section will guide you through the process, helping you learn the stitches and techniques needed to achieve the desired shape and texture for each petal.
To start, you’ll need to gather the necessary materials, including the yarn and hook size recommended for this project. Once you have everything ready, you can begin crocheting the petals.
There are different methods for crocheting petals, but one common technique is to work in rounds. You’ll start with a magic ring, which allows you to create a tight center for the petal. From there, you’ll work your way out, increasing the number of stitches in each round to create a wider shape.
As you crochet, pay attention to the tension of your stitches. It’s important to maintain an even tension throughout to ensure that all the petals have a consistent appearance. You can adjust the tightness or looseness of your stitches by pulling the yarn slightly or using a different hook size.
Additionally, you can experiment with different stitch patterns to add texture to the petals. For example, you can incorporate techniques like front post double crochet or picot stitches to create interesting details and enhance the overall look of the flower.
Remember to take your time and practice each step until you feel comfortable with the process. Crocheting the petals of a gladiolus flower requires patience and precision, but the end result will be worth it.
Working on the Outer Petals
When crocheting a gladiolus flower, it’s important to start with the outer petals. These larger petals will give your flower a realistic and eye-catching appearance. Follow these detailed instructions to crochet the outer petals:
- 1. Begin by making a slip knot and securing it onto your crochet hook.
- 2. Chain a certain number of stitches, depending on the size of the petal you want to create. This will serve as the foundation for your petal.
- 3. Single crochet into each stitch across the foundation chain.
- 4. Once you reach the end of the row, chain one and turn your work.
- 5. Repeat the process of single crocheting into each stitch across the row, chaining one, and turning your work until your petal reaches the desired length.
- 6. To add a curved edge to your petal, you can create increases and decreases at the beginning and end of each row. This will give your petal a more natural shape.
- 7. Once your petal is complete, fasten off the yarn and weave in any loose ends.
By following these instructions, you’ll be able to crochet the outer petals of the gladiolus flower with ease. Remember to take your time and pay attention to the details to achieve a realistic and eye-catching result.
Adding Texture to the Outer Petals
When it comes to crocheting the outer petals of the gladiolus flower, adding texture is key to making your creation look more lifelike and visually interesting. There are several techniques you can use to achieve this effect. Let’s explore some of them:
- Front Post Stitches: By working front post stitches, you can create raised ridges on the surface of the petals. This adds depth and dimension to your flower.
- Bobble Stitches: Incorporating bobble stitches into your outer petals can create a bumpy texture that mimics the natural texture of a real gladiolus flower.
- Cluster Stitches: Cluster stitches are a great way to add texture and create a layered appearance on the outer petals. They give your flower a more intricate and detailed look.
- Surface Crochet: Surface crochet involves working stitches on the surface of the petals, rather than through the loops. This technique allows you to create unique patterns and textures on the petals.
By experimenting with these different techniques, you can add texture and visual interest to the outer petals of your crocheted gladiolus flower. Don’t be afraid to get creative and try out different combinations to achieve the desired effect. Remember, the more texture you add, the more realistic your flower will look!
Creating the Inner Petals
Now that you have mastered crocheting the outer petals of the gladiolus flower, it’s time to move on to the inner petals. These smaller petals play a crucial role in adding depth and dimension to the overall design of the flower. By following the step-by-step instructions in this section, you will be able to create beautiful inner petals that perfectly complement the outer ones.
To start crocheting the inner petals, you will need to gather the necessary materials, including the appropriate yarn and hook size. Once you have everything ready, you can begin by making a slip knot and chaining the required number of stitches. From there, you will work various stitches, such as single crochet and double crochet, to create the desired shape and texture for each petal.
Remember to pay attention to the tension of your stitches and maintain a consistent gauge throughout the process. This will ensure that all the inner petals are uniform in size and appearance. Additionally, don’t be afraid to experiment with different color combinations to make your gladiolus flower truly unique and eye-catching.
As you crochet each inner petal, take your time and enjoy the process. The intricate details and delicate curves of these petals will bring your gladiolus flower to life. Once you have completed all the inner petals, you can move on to shaping the flower and adding the finishing touches. Stay tuned for the next sections to learn how to assemble and shape your crocheted gladiolus flower into a stunning masterpiece.
Shaping the Flower
Once all the petals are crocheted, it’s time to shape the gladiolus flower. This step-by-step guide will show you how to assemble the petals and shape them to create a realistic-looking flower.
To begin, gather all the crocheted petals you have created. Lay them out in front of you so you can easily see and access each one.
Next, take the first petal and position it in the center of your workspace. This petal will serve as the base for the rest of the petals.
Now, carefully arrange the remaining petals around the base petal, overlapping them slightly to create a layered effect. Play around with the placement until you are satisfied with the overall shape and appearance of the flower.
Once you have determined the desired arrangement, use a tapestry needle and matching yarn to sew the petals together. Start at the base of the petals and work your way up, making sure to secure each petal firmly in place.
As you stitch the petals together, take care to maintain the natural curve and shape of each petal. This will give your flower a more realistic and lifelike appearance.
Continue sewing the petals together until you have completed the entire flower. Make sure to hide any loose ends or knots as you go along.
Once all the petals are securely attached, gently shape the flower by gently bending and curling the petals. This will add depth and dimension to the overall design.
Finally, step back and admire your beautiful crocheted gladiolus flower. Adjust any petals or shapes as needed to achieve the desired look.
Remember, practice makes perfect, so don’t be discouraged if your first attempt doesn’t turn out exactly as you envisioned. Keep experimenting and refining your technique, and soon you’ll be creating stunning crocheted flowers with ease.
Finishing Touches
After crocheting all the petals of your gladiolus flower, it’s time to add the finishing touches to make it look perfect. Here are some important steps to follow:
- Securing the Petals: Use a tapestry needle and thread the loose ends of the yarn through the stitches to secure the petals in place. This will prevent them from unraveling and give your flower a neat appearance.
- Hiding Loose Ends: Trim any excess yarn and carefully tuck the loose ends inside the flower. This will create a clean finish and make your crocheted flower look more professional.
- Making Final Adjustments: Take a close look at your flower and make any necessary adjustments. Gently shape the petals with your fingers to give them a natural curve and arrange them in a visually pleasing way.
Remember, the finishing touches are what elevate your crocheted gladiolus flower from good to great. Take your time and pay attention to the details to ensure that your flower looks absolutely stunning.
Adding a Stem
Adding a stem to your crocheted gladiolus flower is a great way to elevate its overall appearance. Not only does it add height and stability to the flower, but it also gives it a more realistic and complete look. Here are the step-by-step instructions on how to crochet a stem and attach it securely to your flower:
1. Choose the yarn and hook size: Select a yarn color that matches or complements the color of your flower. For the stem, a thinner yarn like a sport or DK weight works well. Pair it with an appropriate hook size to achieve the desired thickness.
2. Start crocheting the stem: To begin, make a slip knot and chain a desired length for your stem. The length will depend on your personal preference and the size of your flower. Single crochet in each chain stitch until you reach the end, creating a long, straight stem.
3. Add texture to the stem: To give your stem a more realistic look, you can add texture by using different crochet stitches. For example, you can alternate between single crochet and slip stitch to create a ribbed effect. Experiment with different stitch patterns to achieve the desired texture.
4. Secure the stem to the flower: Once your stem is complete, it’s time to attach it to the flower. Thread the loose end of the stem through the center of the flower and bring it out through one of the bottom petals. Tie a secure knot to hold the stem in place, ensuring that it is centered and straight.
5. Conceal the loose ends: To give your flower a polished finish, make sure to hide any loose ends. Use a yarn needle to weave the loose ends of the stem into the stitches, securing them in place. Trim off any excess yarn to create a neat and tidy appearance.
By following these instructions, you can successfully crochet a stem for your gladiolus flower and attach it securely. This final touch will complete the overall look of your crocheted flower, making it even more beautiful and realistic.
Adding Details
Now that you have crocheted your gladiolus flower, it’s time to take it to the next level by adding some beautiful details. Adding leaves or additional accents will enhance the overall beauty of your flower and give it a polished and professional appearance. Here are some tips to help you with this final step:
- Leaves: Crochet some green leaves to accompany your gladiolus flower. You can use a simple leaf pattern or get creative with different shapes and sizes. Attach the leaves to the stem or arrange them around the petals for a more natural look.
- Additional Accents: Consider adding some extra elements to make your crocheted flower stand out. You can use beads, buttons, or even small crochet motifs to add a touch of uniqueness. Experiment with different colors and textures to create a truly personalized flower.
Remember to secure all the details properly to ensure they stay in place. You can use a tapestry needle and some extra yarn to sew them onto the flower securely. Take your time and arrange the details in a way that enhances the overall design of your gladiolus flower.
By adding these details, your crocheted gladiolus flower will become a true masterpiece. It will catch the eye and impress anyone who sees it. So, don’t be afraid to get creative and have fun with this final step!
Frequently Asked Questions
- Q: What type of yarn should I use for crocheting a gladiolus flower?
A: It is best to use a lightweight yarn, such as a sport or DK weight yarn, for crocheting a gladiolus flower. This will ensure that the petals are delicate and have a realistic appearance.
- Q: How do I choose the appropriate hook size?
A: The hook size you choose will depend on the thickness of your yarn. It is recommended to use a hook size that is slightly smaller than what is suggested on the yarn label. This will help create tight and defined stitches for the flower petals.
- Q: Can I add texture to the outer petals of the gladiolus flower?
A: Yes, you can add texture to the outer petals to make them more visually interesting. You can achieve this by using techniques such as post stitches, popcorn stitches, or surface crochet. Experiment with different techniques to create the desired texture.
- Q: How do I shape the gladiolus flower after crocheting the petals?
A: To shape the gladiolus flower, you will need to assemble the petals and secure them together using a tapestry needle and yarn. Gently shape the petals by curving them slightly and arranging them in a natural-looking way. This will give your flower a realistic appearance.
- Q: Can I add a stem to my crocheted gladiolus flower?
A: Yes, you can add a stem to your crocheted gladiolus flower to enhance its overall look. Crochet a stem using a green yarn and attach it securely to the base of the flower. This will give your flower a more complete and polished appearance.
- Q: How can I add additional details to my crocheted gladiolus flower?
A: You can add additional details to your crocheted gladiolus flower, such as leaves or other accents, to make it more visually appealing. Crochet small leaves using green yarn and attach them to the stem or arrange them around the flower. You can also add small beads or sequins for extra sparkle.